News & Blog
1. Choosing the Perfect Paint Colors
Selecting the right color is the first and most important step. Here’s how to make the best choice:
For Interiors:
• Light Colors (whites, creams, pastels) make spaces feel larger and more open.
• Bold Colors (navy, deep green, burgundy) create dramatic and cozy vibes.
• Neutral Colors (beige, gray, taupe) are timeless and versatile.
• Accent Walls can add depth and personality without overwhelming a room.
For Exteriors:
• Classic Choices like white, gray, or beige offer a clean and sophisticated look.
• Bold Options like navy, dark green, or even black can make a statement.
• Consider the Environment: Choose colors that complement your surroundings and climate.
Tip: Use paint swatches and test patches to see how colors look in different lighting.
2. Picking the Right Paint Finish
Different paint finishes serve different purposes:
• Flat/Matt – Best for ceilings and low-traffic areas. Hides imperfections but is harder to clean.
• low sheen – Perfect for living rooms and bedrooms. Slight sheen, easy to clean.
• Semi-Gloss – Great for kitchens, bathrooms, and trim. Resistant to moisture and stains.
• Glossy – Ideal for doors, cabinets, and furniture. Provides a shiny, durable finish.
3. Essential Painting Tools & Materials
Before you start, make sure you have:
✔ High-quality paint (latex for most walls, oil-based for special surfaces)
✔ Paint rollers and brushes (angled brushes for edges and trim)
✔ Painter’s tape (for sharp, clean lines)
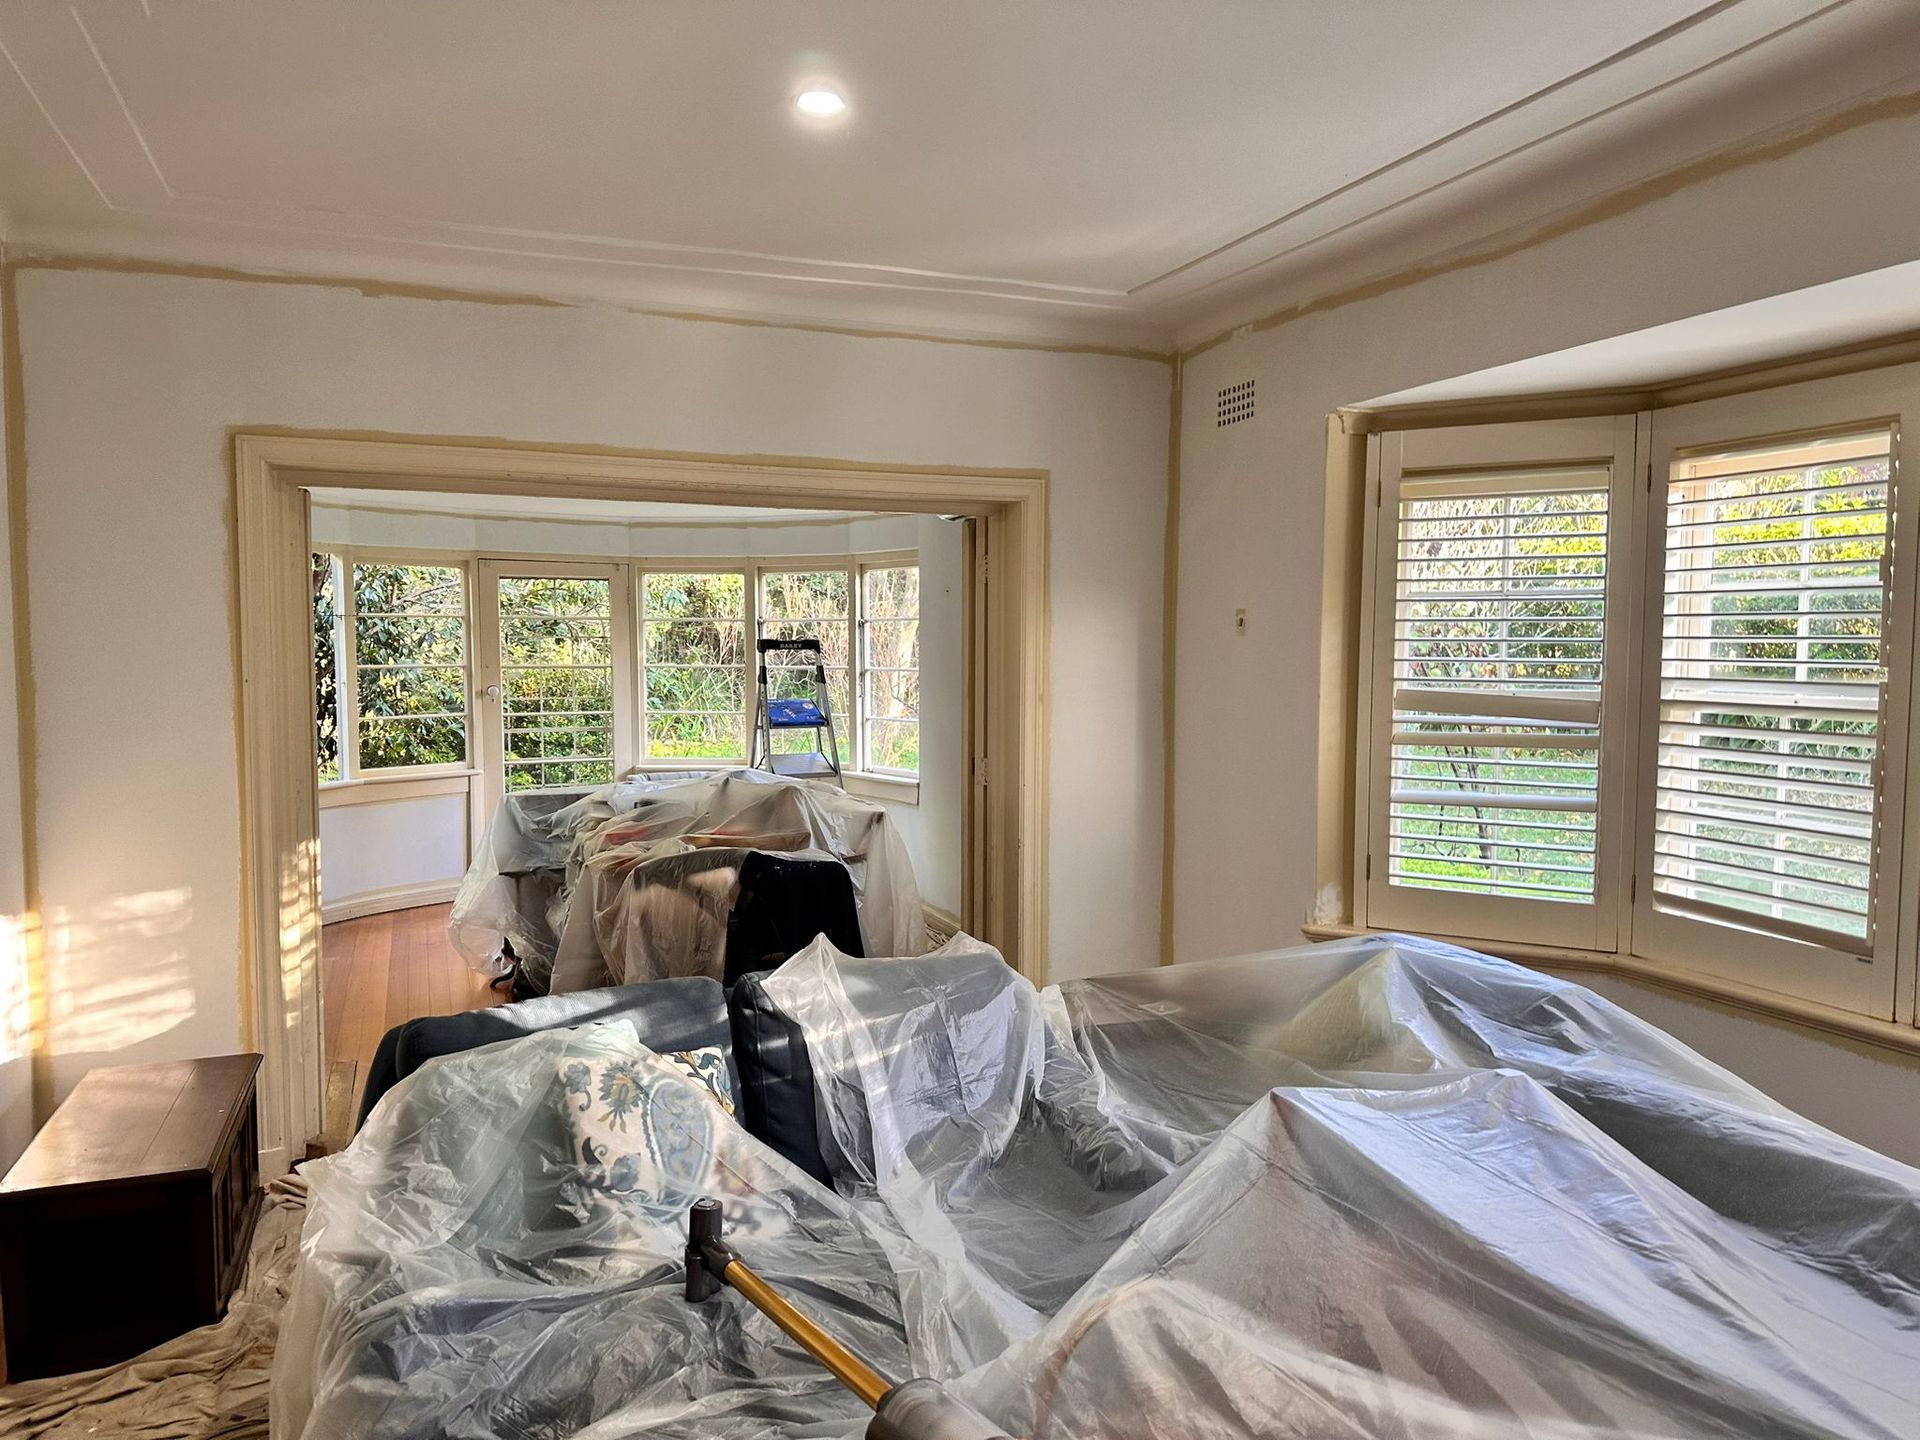
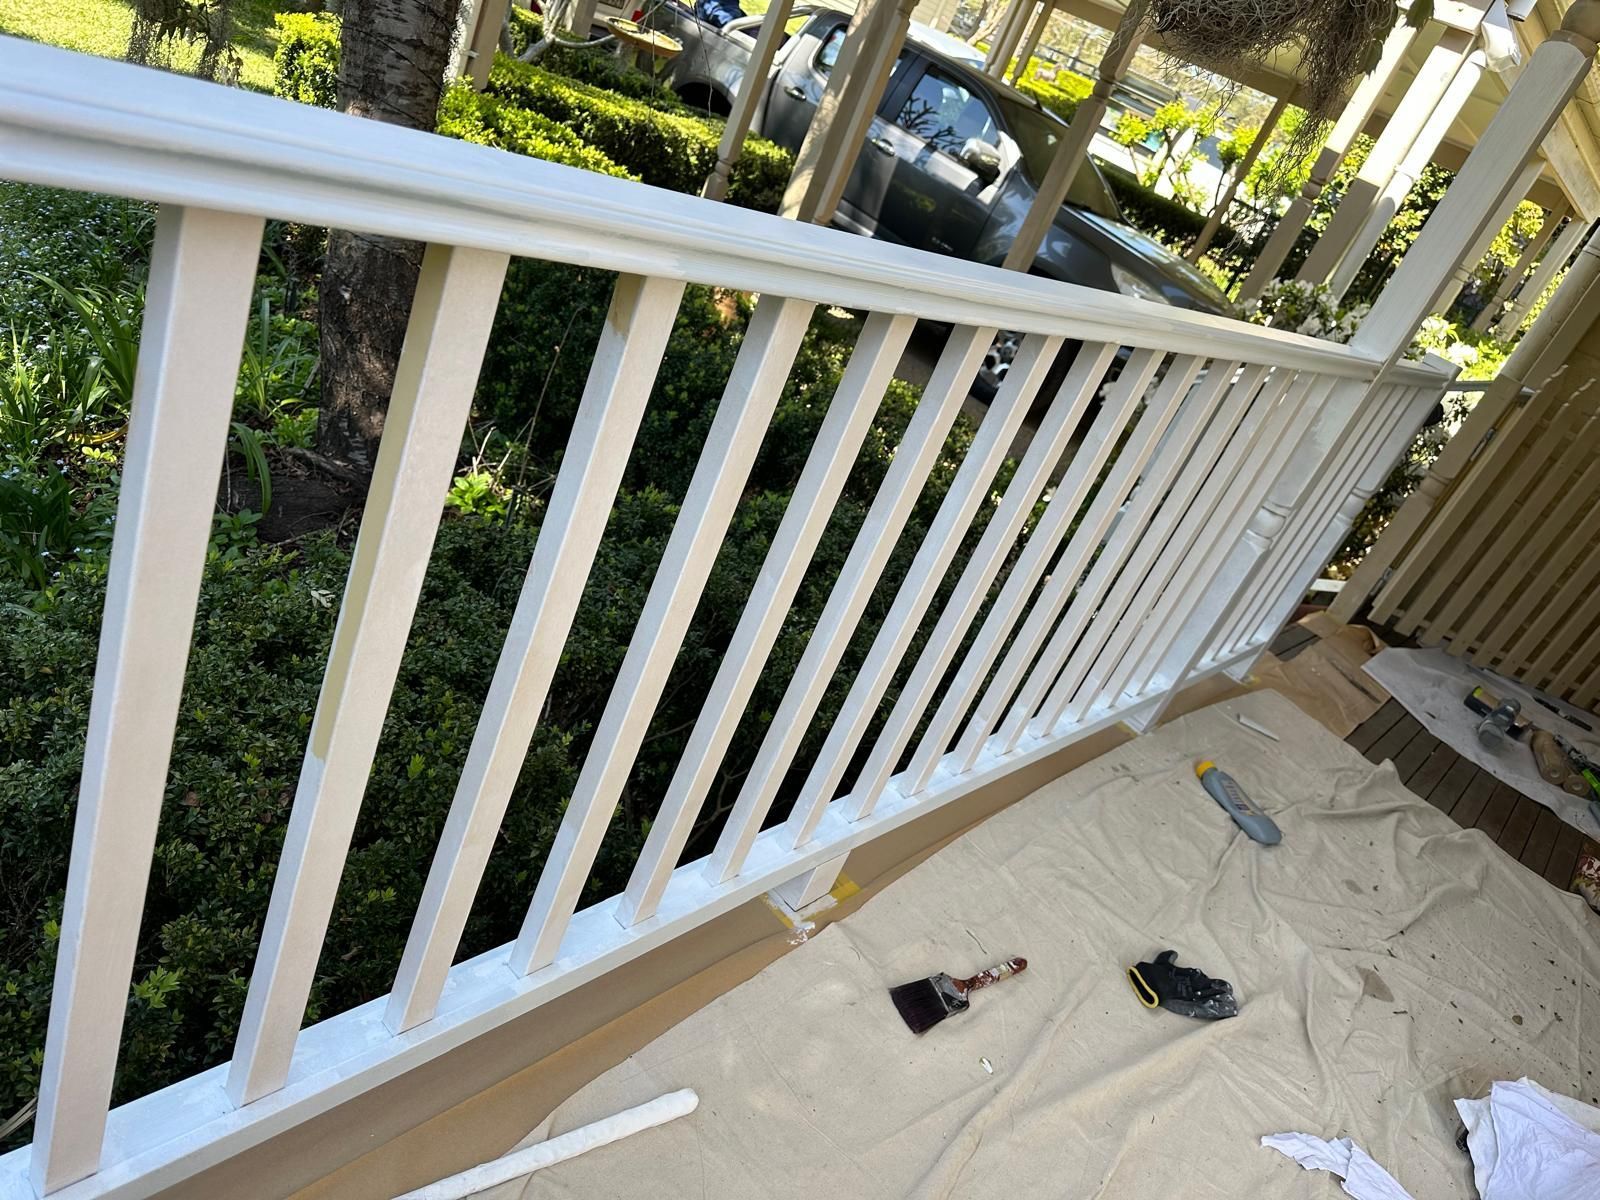
✔ Drop cloths or plastic sheets (to protect floors and furniture)
✔ Sandpaper (to smooth surfaces before painting)
✔ Primer (for better adhesion and color depth)
4. Step-by-Step Painting Process
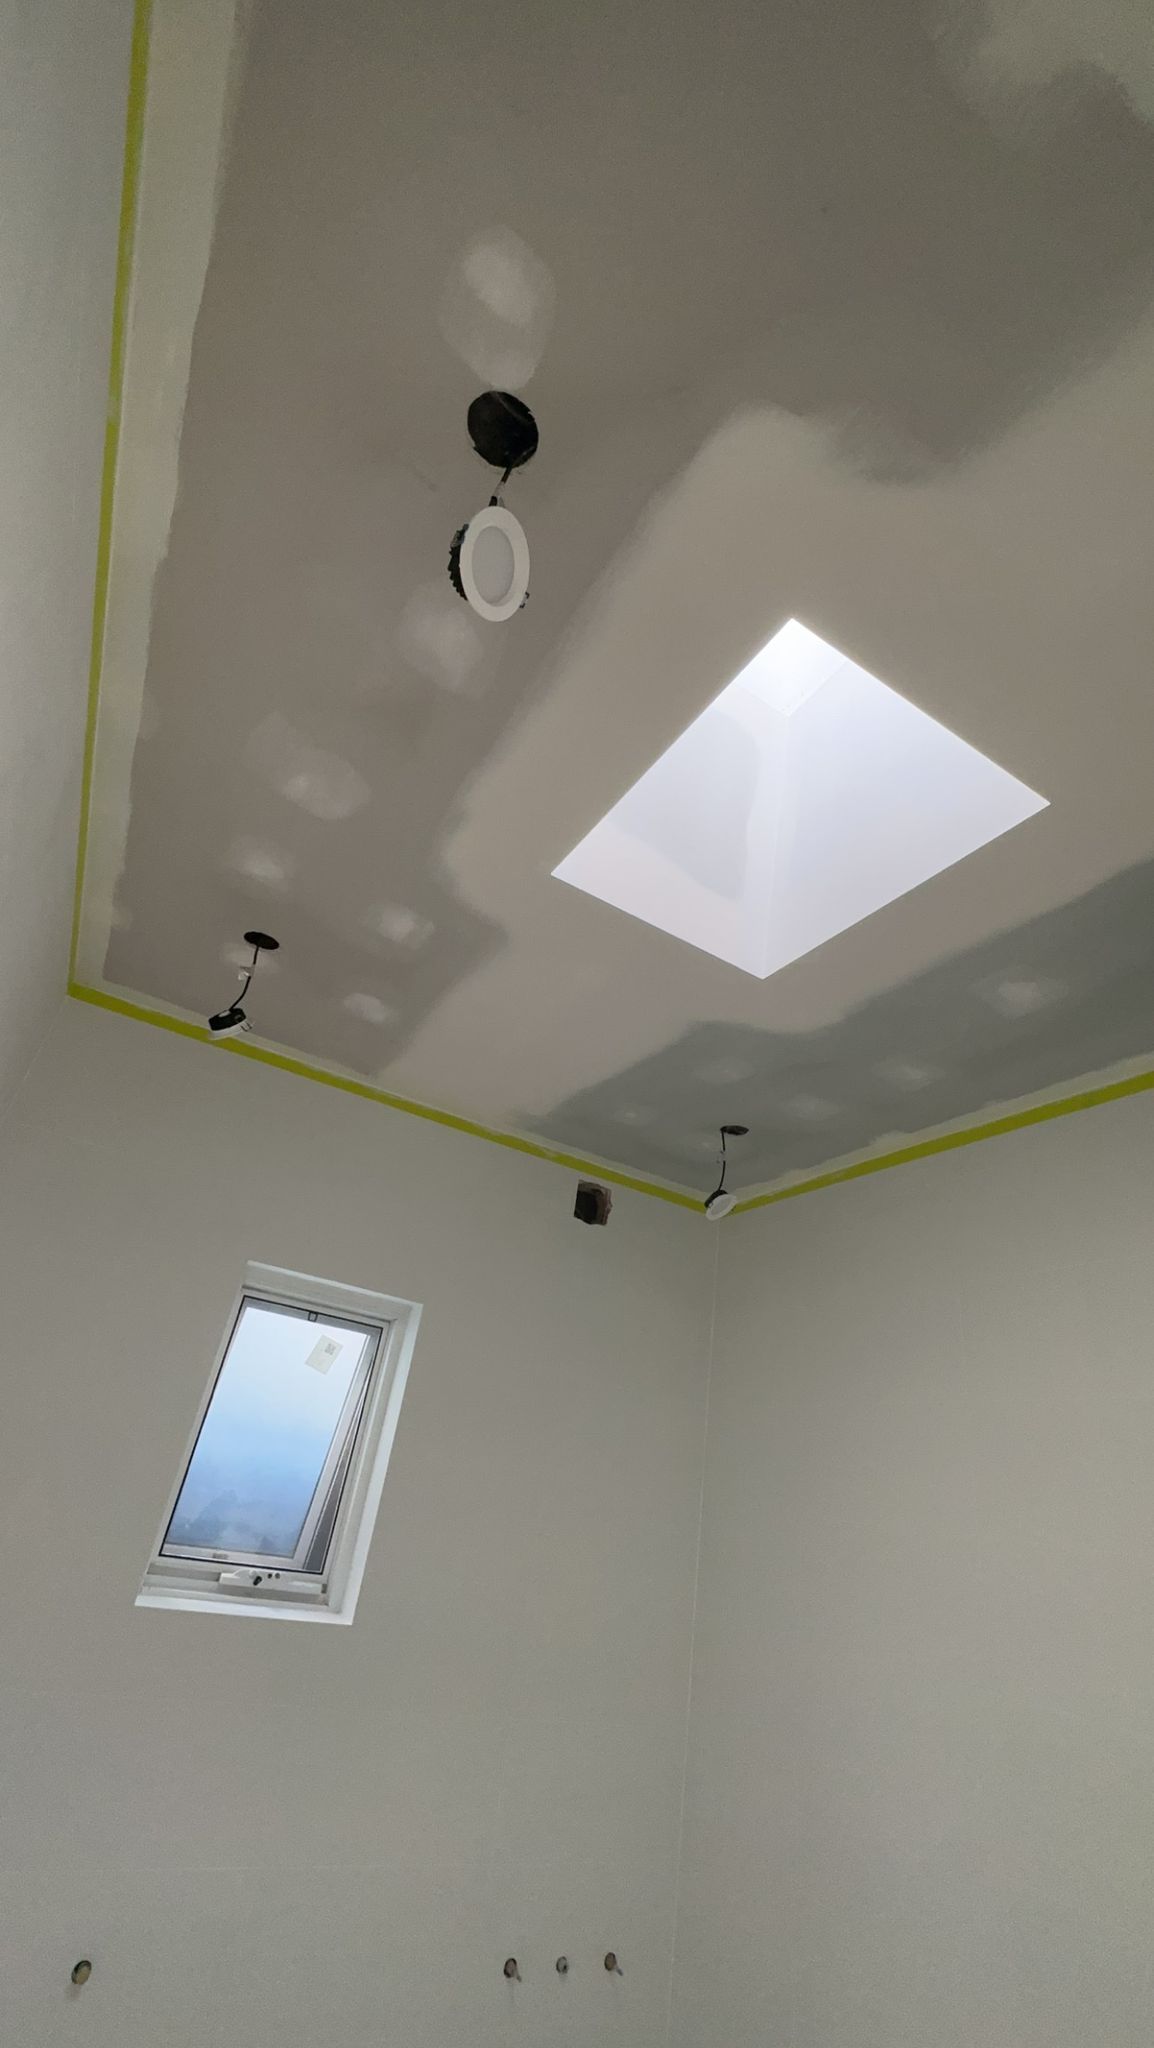
Step 1: Prep the Surface
• Remove dust, dirt, and old paint chips.
• Fill holes and cracks with putty and sand smooth.
• Apply painter’s tape around trim and edges.
Step 2: Apply Primer (If Needed)
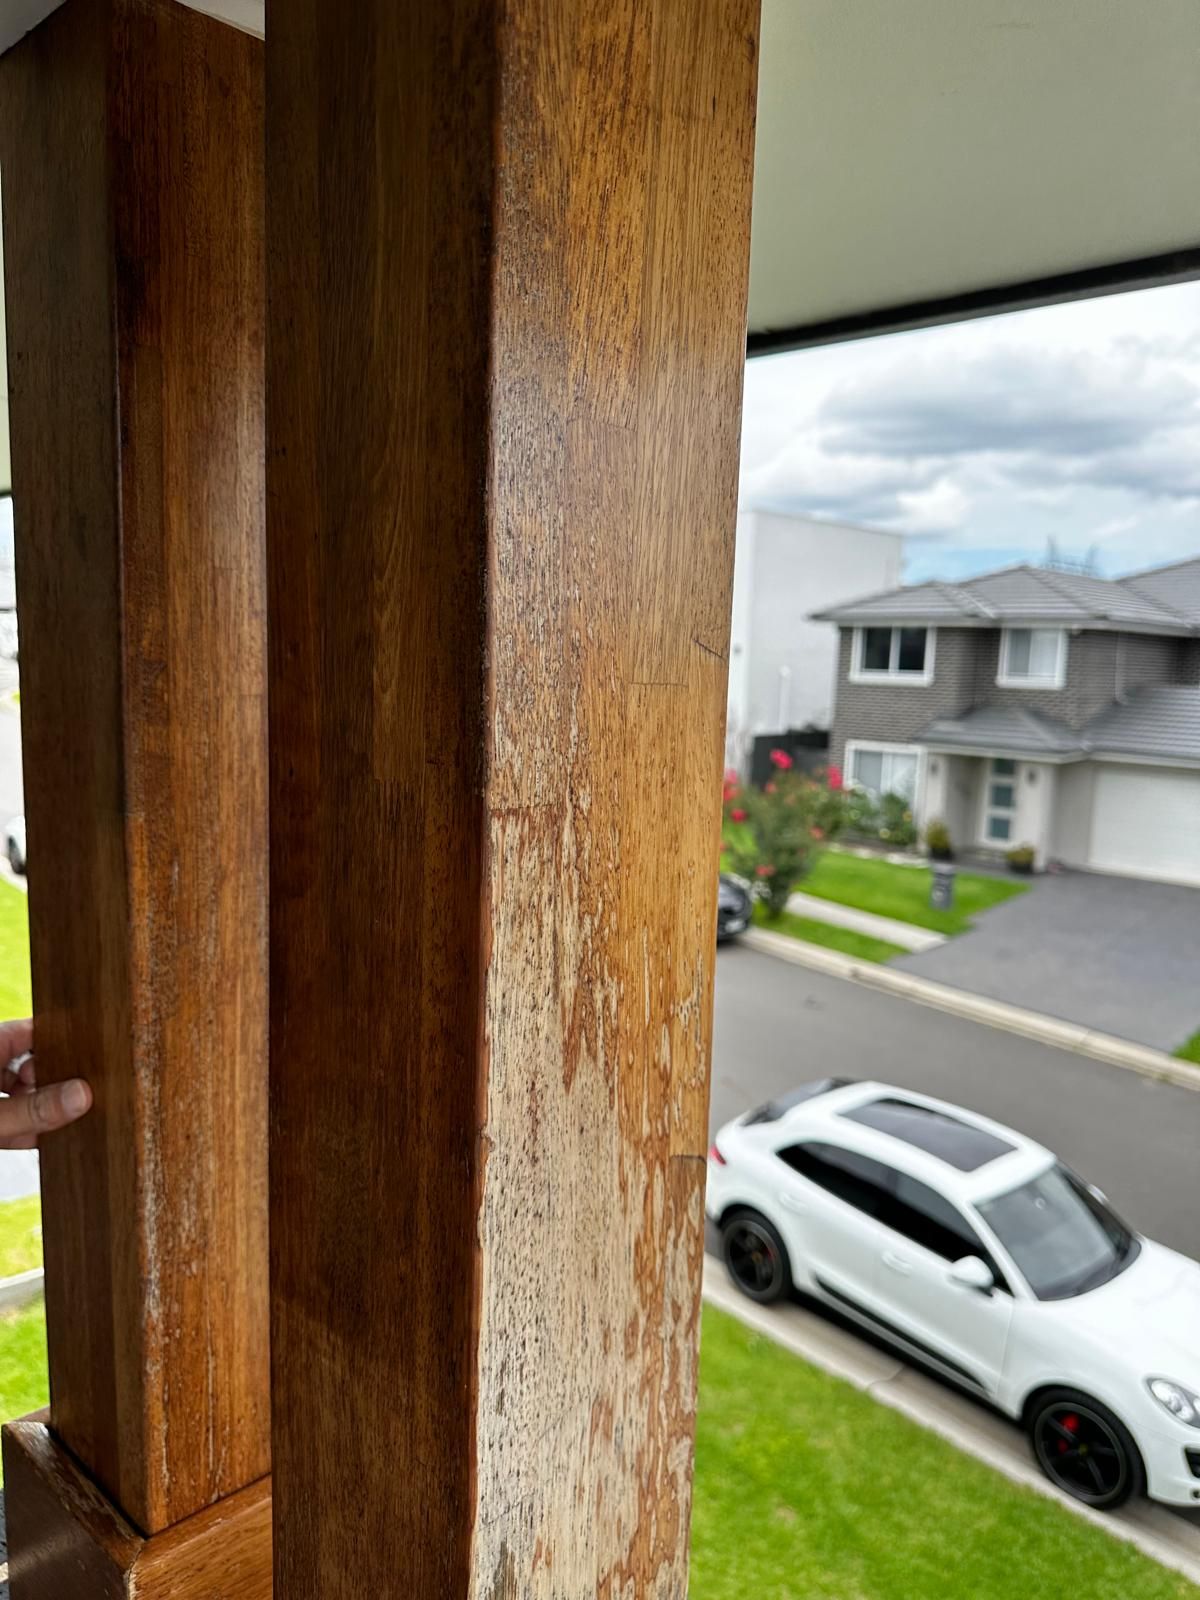
• Use primer if painting over dark colors or on a porous surface like bare wood.
Step 3: Start Painting
• Use a brush for edges and corners (cutting in).
• Roll the main sections with smooth, even strokes.
• Apply two coats for the best coverage.
Step 4: Let It Dry & Remove Tape
• Allow the first coat to dry completely before applying the second.
• Carefully remove painter’s tape before the final coat dries completely.
5. Pro Tips for a Professional Finish
✅ Use High-Quality Paint & Brushes – Cheap materials can lead to streaks and peeling.
✅ Work in Natural Light – Helps you spot missed spots and streaks.
✅ Paint from Top to Bottom – Avoid drips and streaks.
✅ Keep a Wet Edge – Prevents visible brush strokes and uneven layers.
✅ Ventilate the Area – Proper airflow speeds up drying and reduces fumes.
6. Exterior Painting: Special Considerations
When painting the outside of your house, keep these in mind:
• Check the Weather – Avoid painting in extreme heat, humidity, or rain.
• Power Wash Before Painting – Removes dirt and mildew for better adhesion.
• Use Weather-Resistant Paint – Exterior paints are designed to withstand the elements.
7. Final Thoughts: Make Your Home Stand Out
House painting is a rewarding project that can completely transform your space. Whether you’re going for a modern, classic, or bold look, the right colors and techniques make all the difference.
Thinking about repainting your home? Drop your questions in the comments, and let’s talk paint!